I’ve been using Swift a lot lately. I wanted to start making iOS apps a while ago but Objective-C is frankly, not worth the trouble. Swift on the other hand is actually fun to use and I love experiencing how the language evolves.
This weekend I started working on a small app I’ve wanted for a while but got stuck when it came to implementing a map with MapKit. I couldn’t find documentation or code samples on how to do it anywhere. Turns out that it’s not hard at all! It took very little fiddling around before I figured it out. Here’s how I did it:
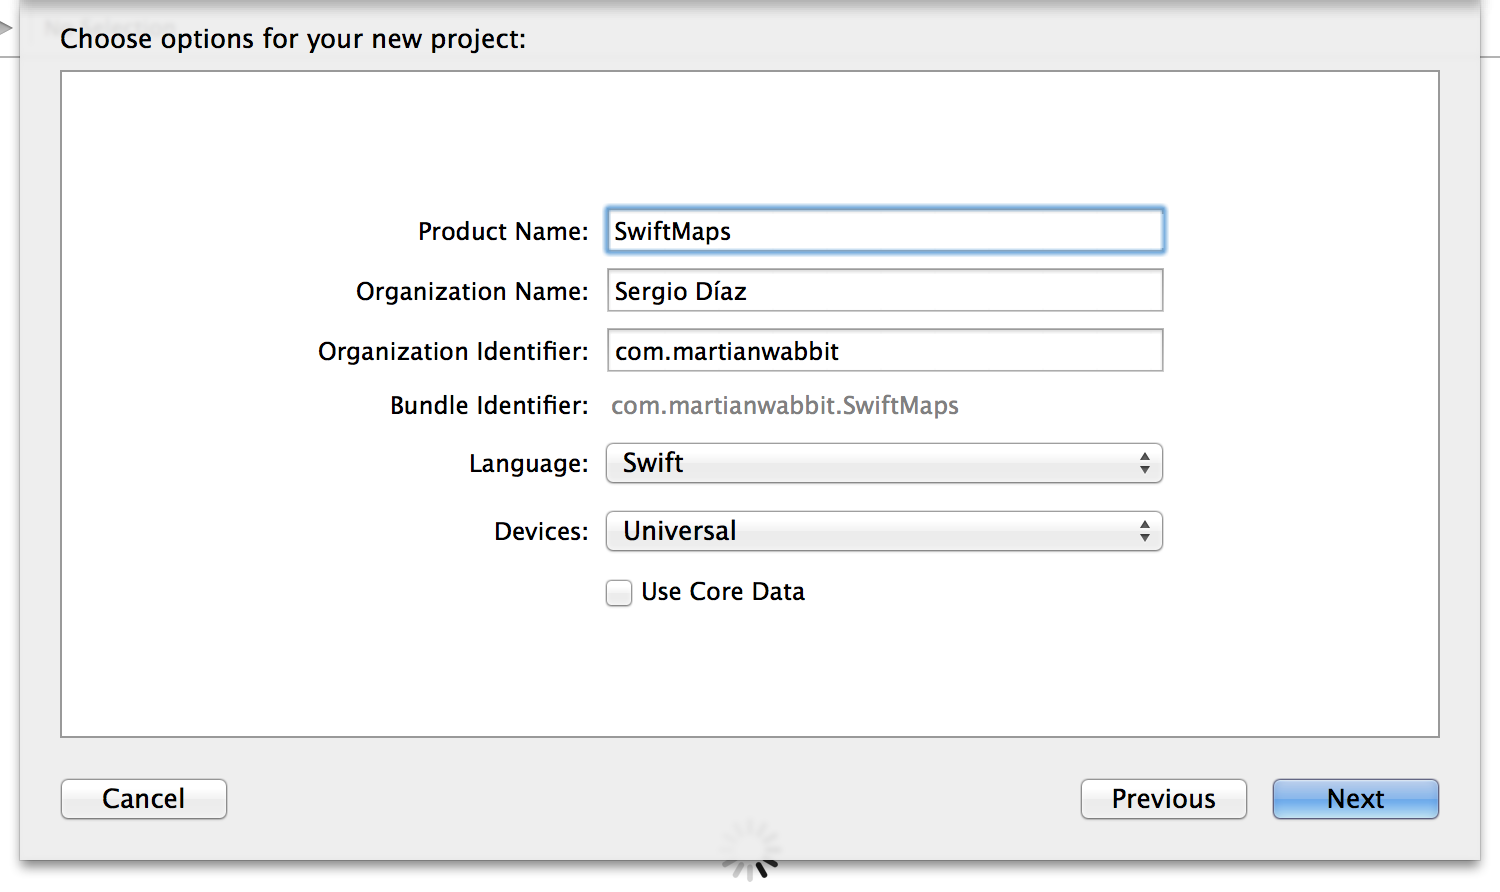
First, create a new project
I started with a Single View Application.
 Then added a MKMapView to the view controller. After that, imported
 MapKit into the view controller’s code. Finally, I added a new reference outlet to the map called map.
Setup your desired location
Now our map is ready to display a location. You’ll need a couple of things to set it to the right place. First, you need a location in the form of a latitude and longitude and a CLLocationCoordinate2D.
var location = CLLocationCoordinate2D(
    latitude: 16.40,
    longitude: -86.34
)
Now, we need to tell the map what the area spanned by the region is. For this we use MKCoordinateSpanMake. Which, as you probably guessed, creates a MKCoordinateSpan.
var span = MKCoordinateSpanMake(1, 1)
After that we just need to define the region using these two things:
var region = MKCoordinateRegion(center: location, span: span)
And finally, we set this region to the map:
map.setRegion(region, animated: true)
Bonus: Adding an annotation
Adding an annotation is actually quite easy. We start by creating a new MKPointAnnotation instance. It’ll display the default red pin which, might not be as pretty but it’ll get the job done.
var annotation = MKPointAnnotation()
Afterwards, we can set it’s coordinates, title and subtitle to place it wherever we want and to add the text it’s callout will display when tapped.
annotation.coordinate = location
annotation.title = "Roatan"
annotation.subtitle = "Honduras"
Finally, we add it to the map like this:
map.addAnnotation(annotation)
Here’s my final code:
import UIKit
import MapKit

class ViewController: UIViewController {

    @IBOutlet weak var map: MKMapView!
    override func viewDidLoad() {
        super.viewDidLoad()

        var location = CLLocationCoordinate2D(
            latitude: 16.40,
            longitude: -86.34
        )

        var span = MKCoordinateSpanMake(0.5, 0.5)
        var region = MKCoordinateRegion(center: location, span: span)

        map.setRegion(region, animated: true)

        var annotation = MKPointAnnotation()
        annotation.coordinate = location
        annotation.title = "Roatan"
        annotation.subtitle = "Honduras"

        map.addAnnotation(annotation)
    }
}
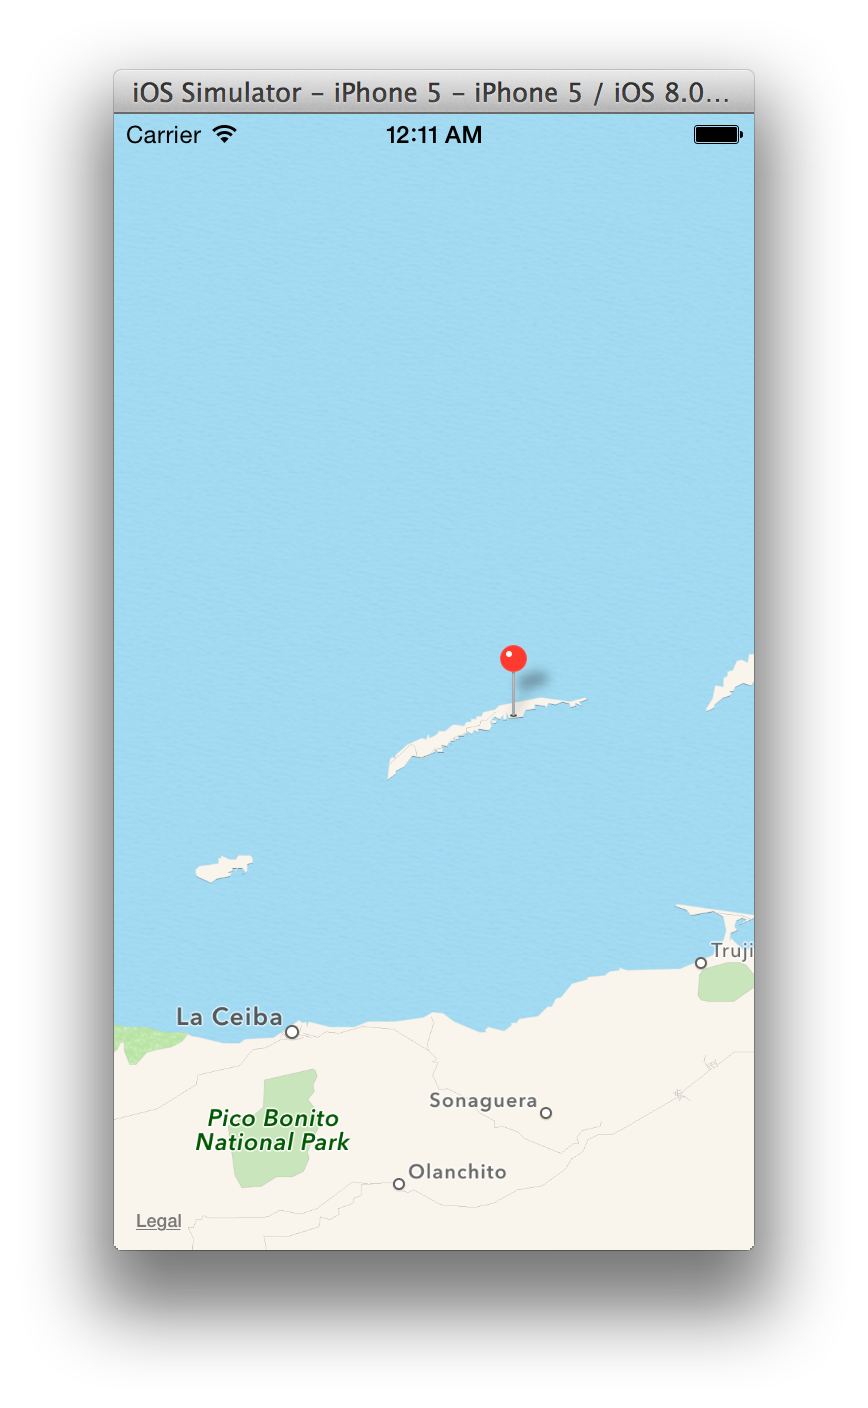
And here’s what my app looks like:
Additional Resources
Location and Maps Programming Guide
Have a comment? Feel free to
email me.
Did you enjoy this post? Buy me a coffee ☕️.