I recently acquired a second plotter to complement my HP-7475A. I've been meaning to get an XY plotter so that I can use taller pens without modifying the case of my hp plotter. These Roland plotters are both beautiful and very functional so I've been waiting for a nice looking one to show up on my feed. It finally did.

The Power Supply
I overpaid quite a bit for it but it was what I wanted so I figured it was worth
it. It was about $150.00 without a power supply. A word of warning, DO NOT BUY
ONE OF THESE WITHOUT A POWERSUPPLY. I am not the first person to say this but I
decided to ignore that advice. I was lucky to find a power supply for it for an
additional $30. All in all I ended up paying a bit over $200 for it (don't get
me started on how much it was to ship it to Honduras). If you are looking for a
power supply the model number is DCP-302A. It is a dual voltage power supply
with one rail providing 31V 0.7A DC and another providing 9.7V 0.7A DC.
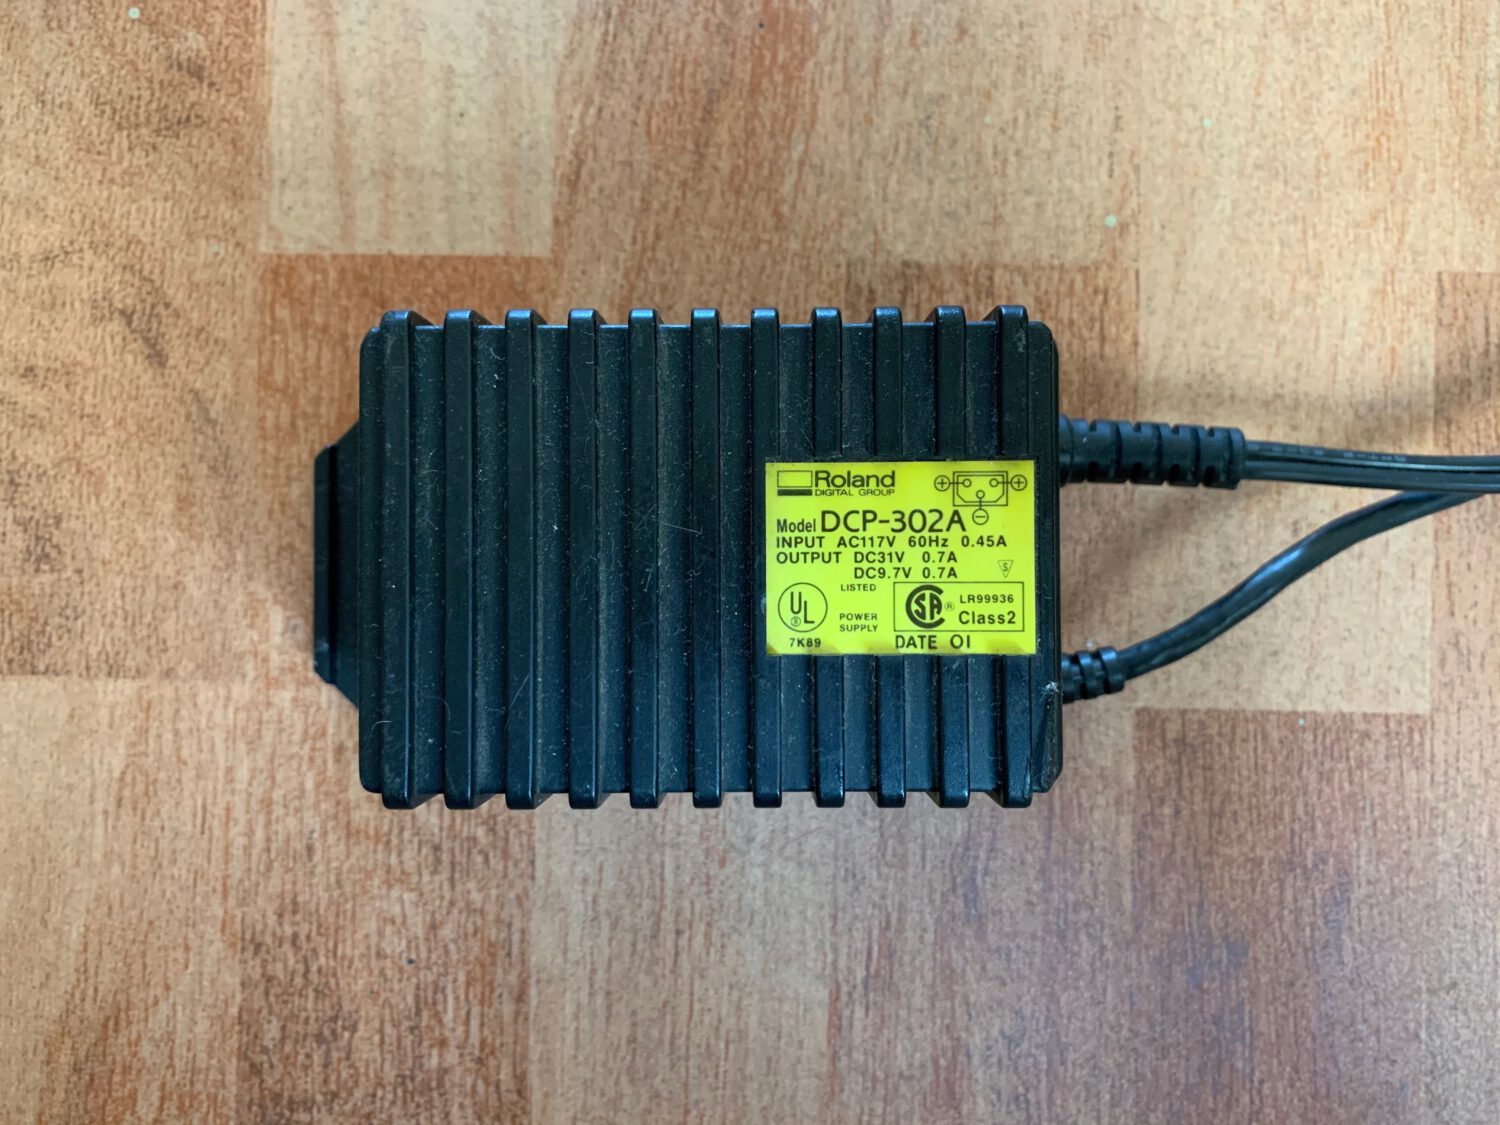
Here's the pinout just in case:

Communicating With The Plotter
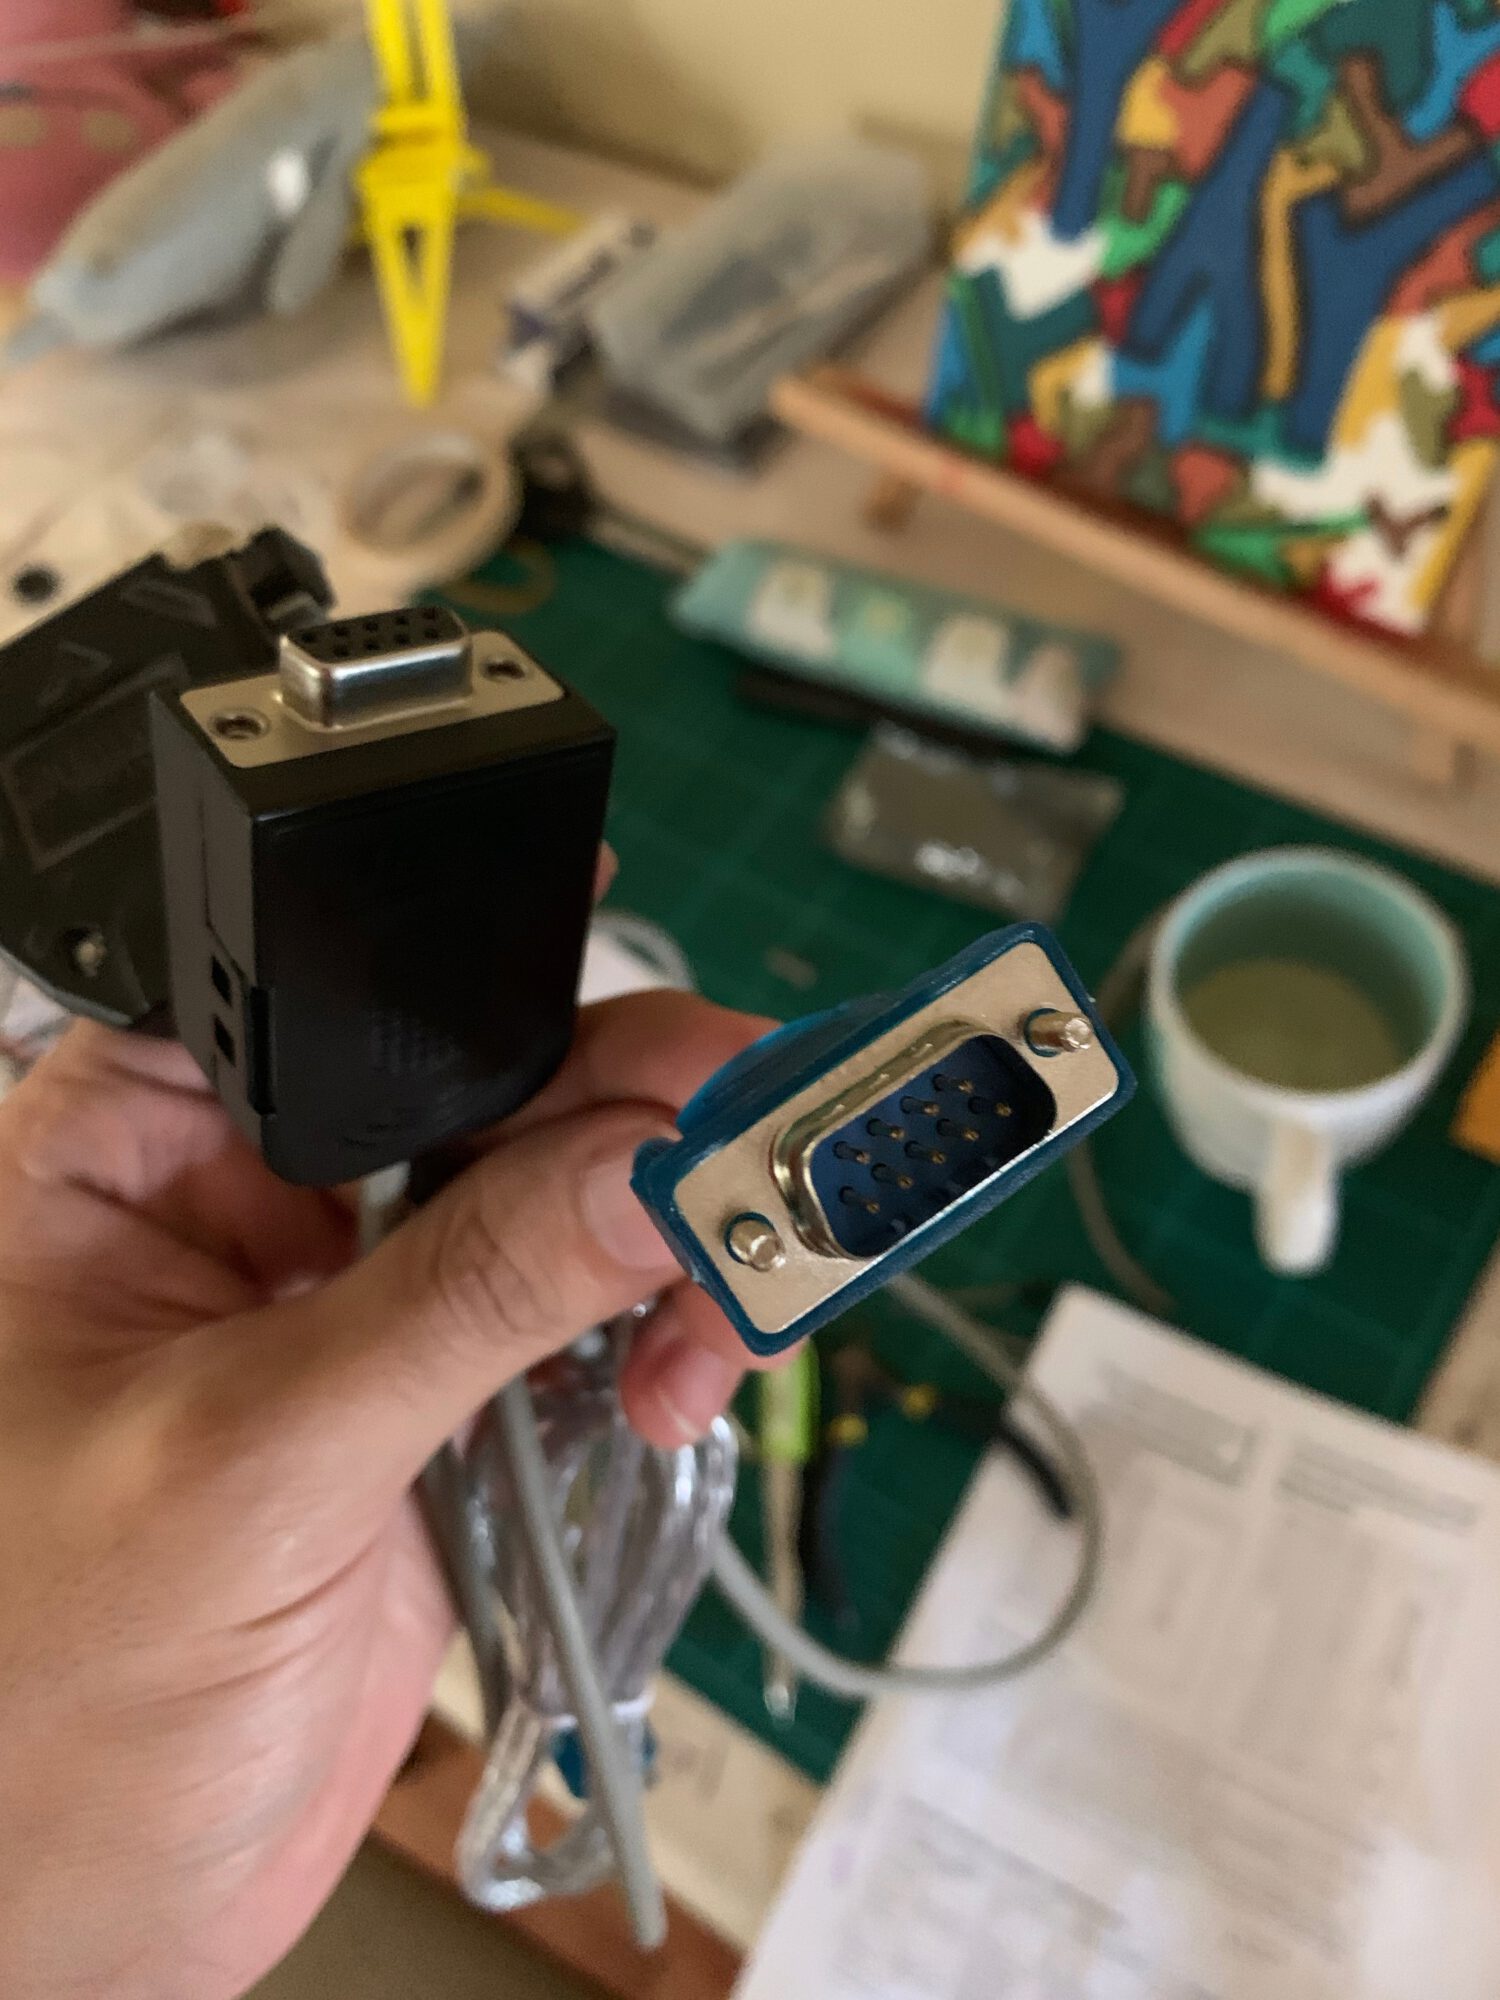
Luckily this plotter has two different ports, which makes communicating with it very convenient. The serial port is fairly straightforward to use so I went with it. Turns out getting a USB to Serial adapter in Honduras was a bit harder than I expected. I did end up finding a DB9 USB to Serial adapter. The plotter has a DB25 serial port so that was only half of it. Luckily my plotter came with a PS/2 to DB25 cable I could sacrifice to make an adapter.
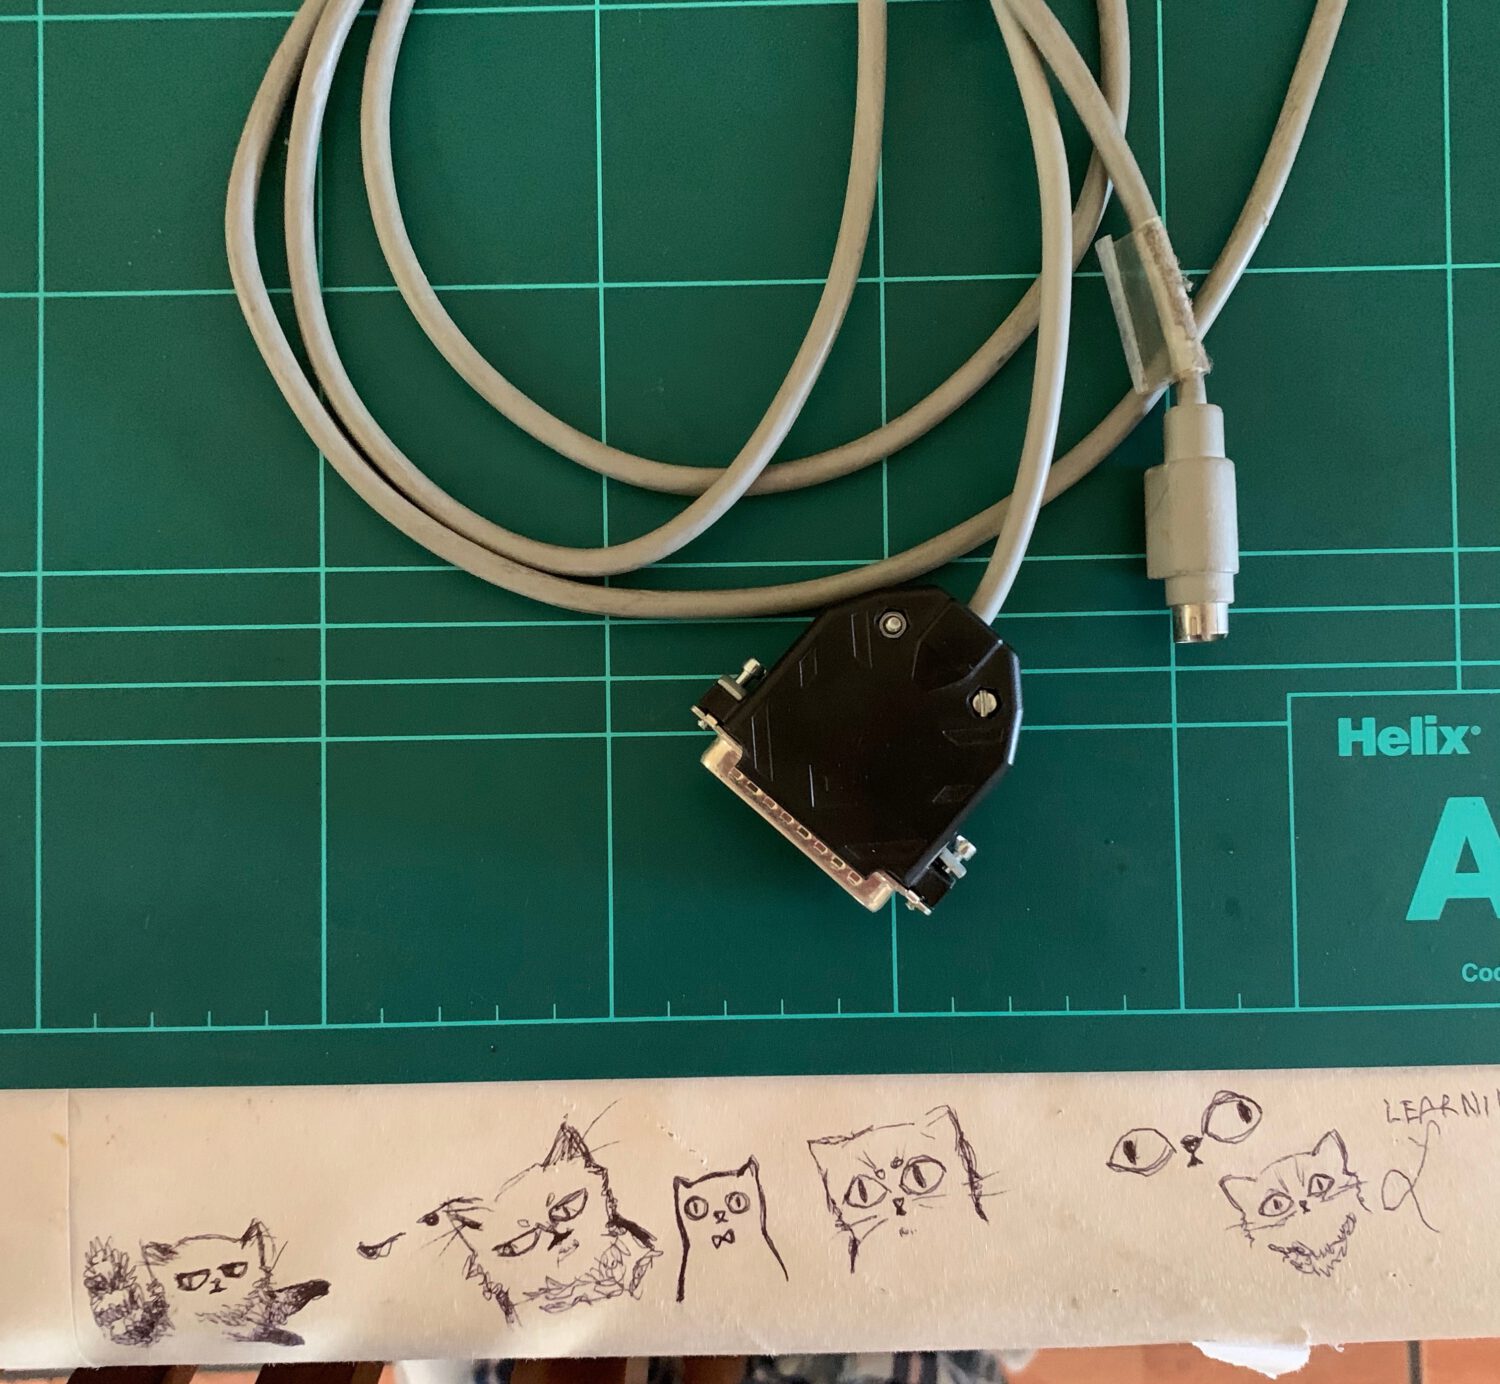
My DB9 USB to Serial adapter was male so I bought one of these DB-9 female adapters to replace the PS/2 end of my cable with.
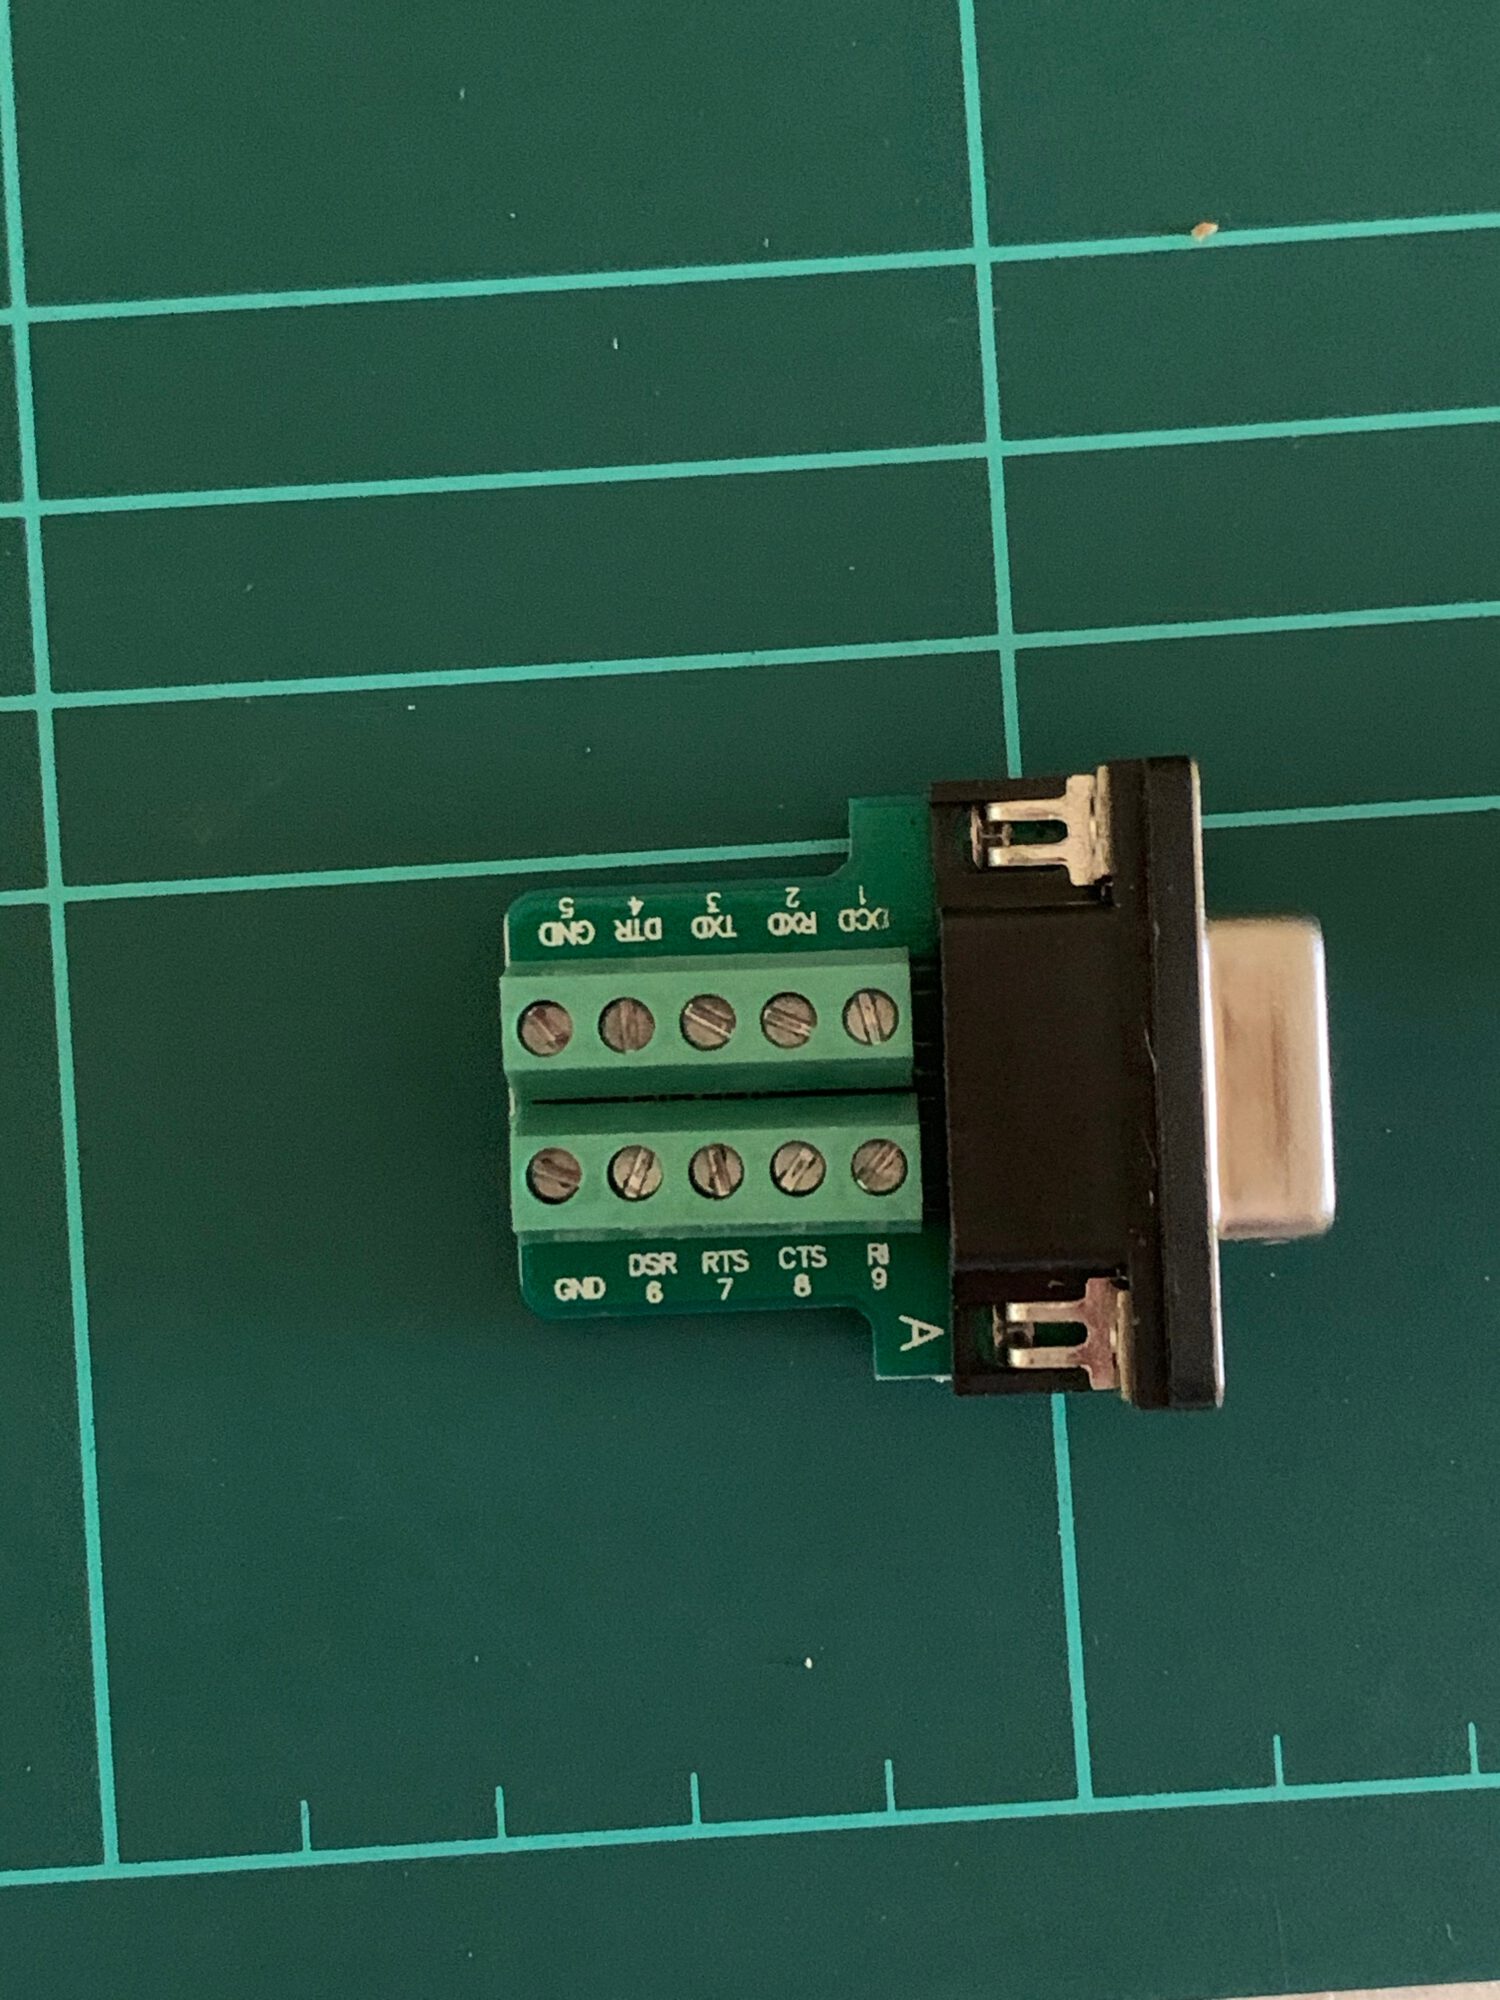
Luckily Roland tells us what pin goes where in their user manual so setting it up was fairly easy.
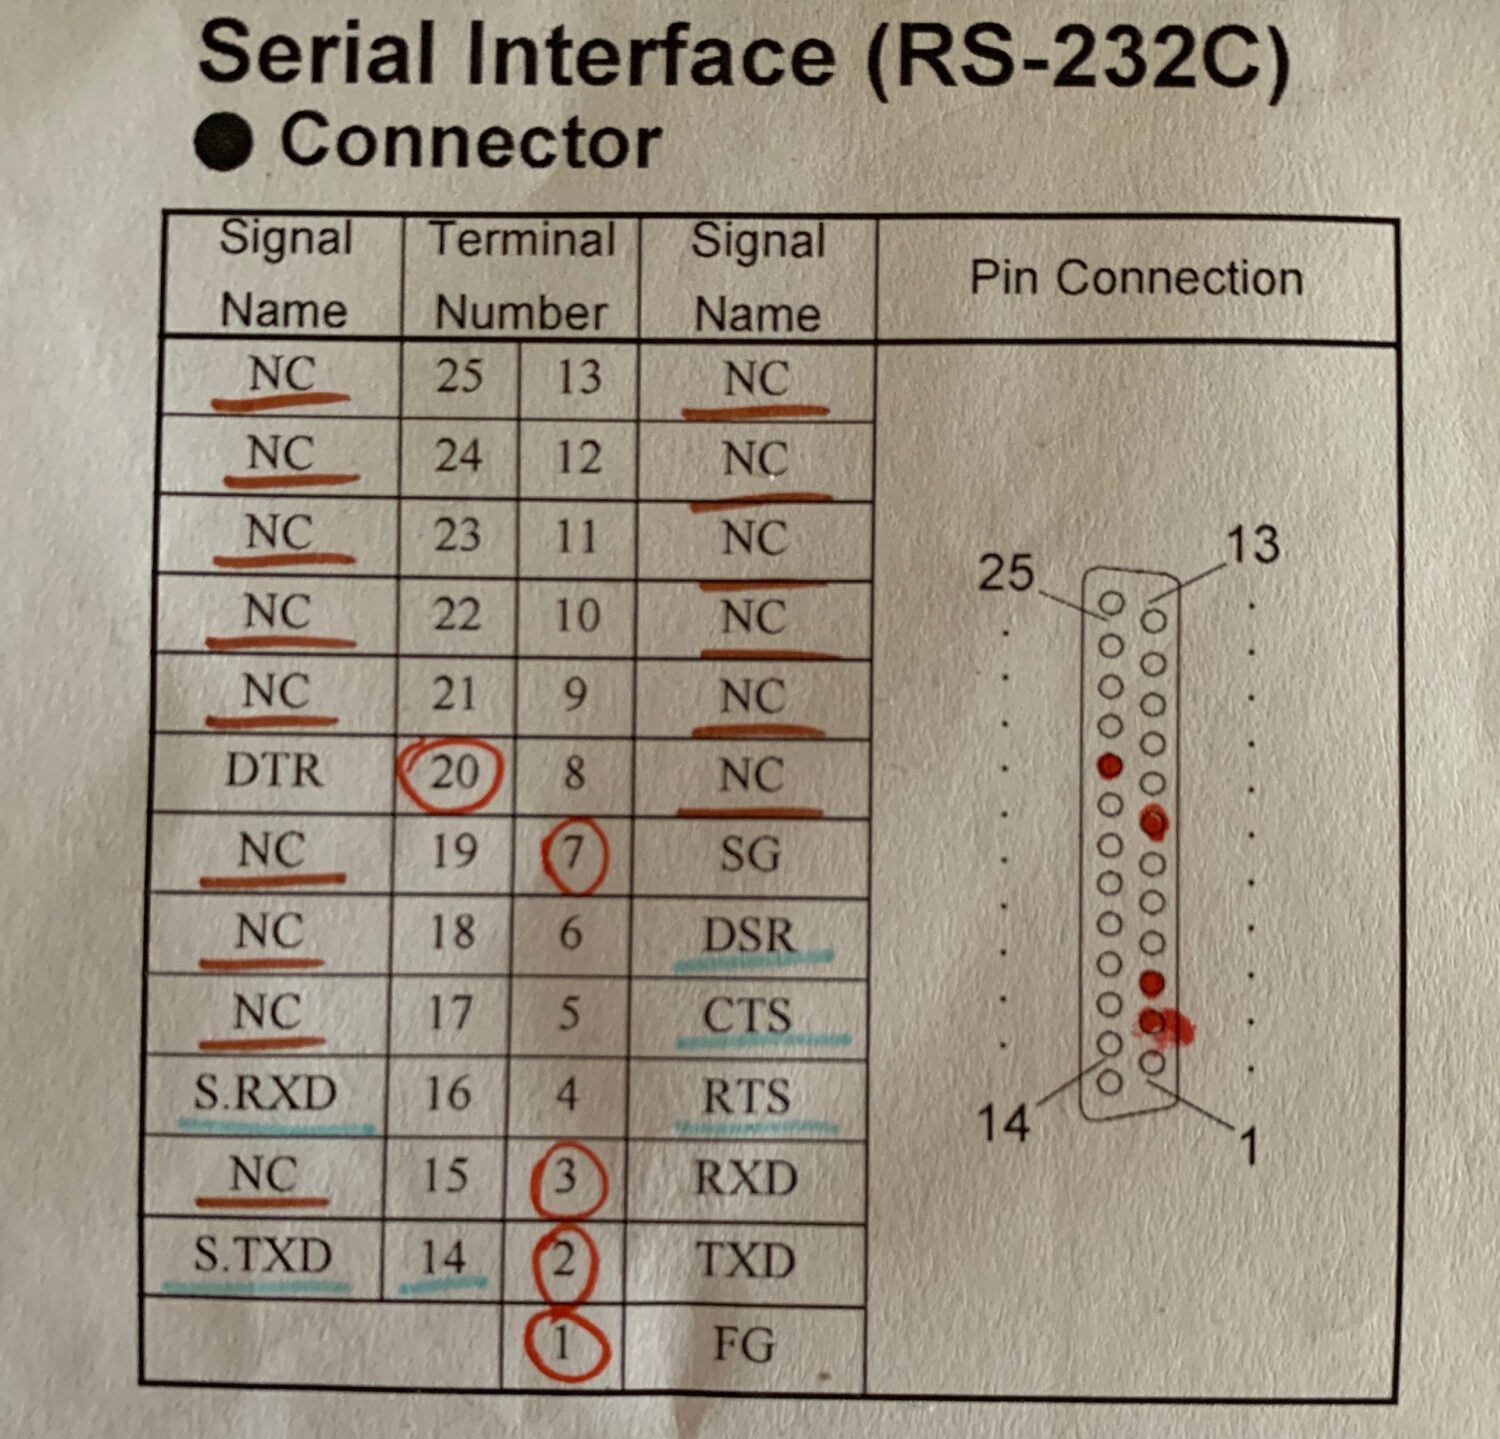
Here's how I wired it:
| DB25 Pin | DB9 Pin |
|---|---|
| FG (1) | Sleeve (GND) |
| TXD (2) | RXD (2) |
| RXD (3) | TXD (3) |
| DTR (20) | DTR (4) |
| SG (7) | GND (5) |
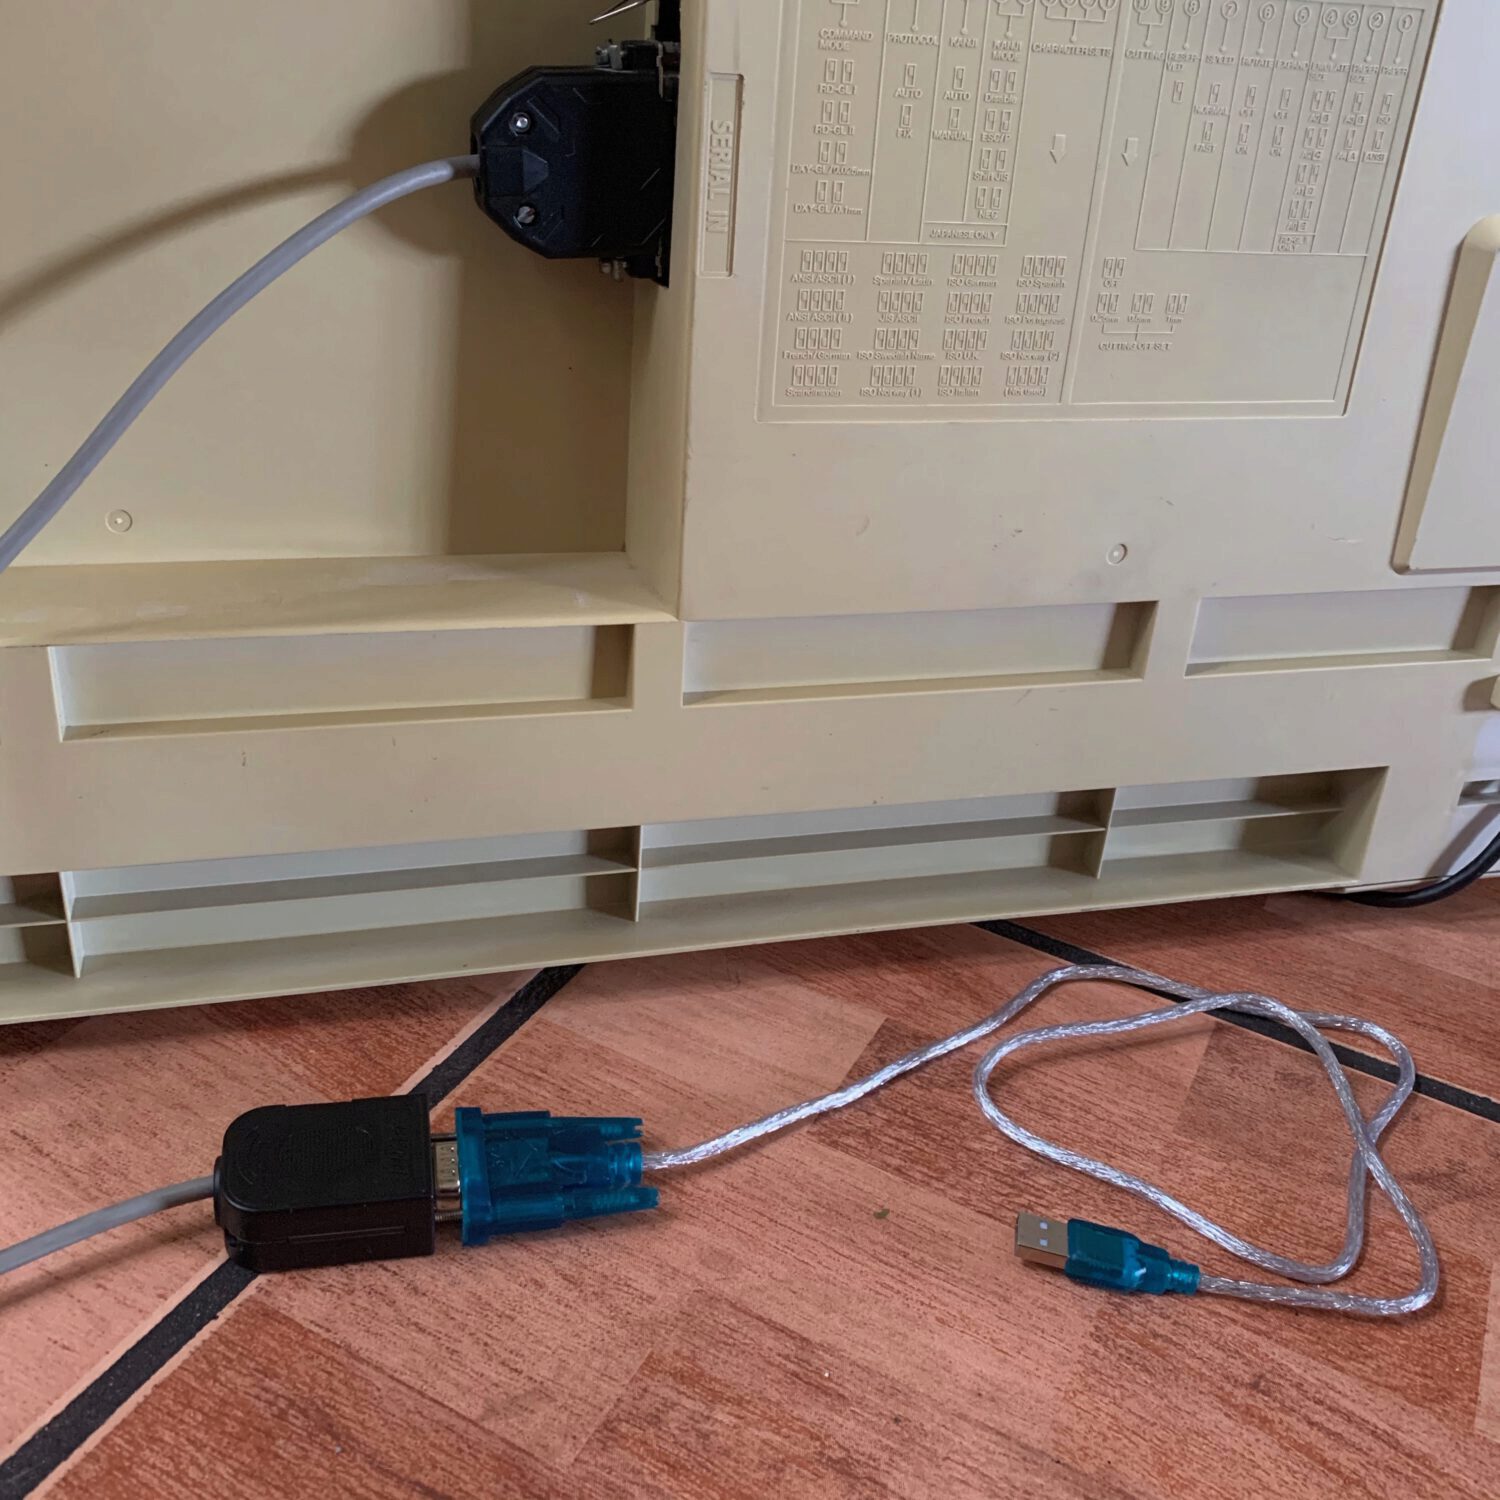
Make sure that the TXD goes into the RXD and the RXD into the TXD. It might seem obvious but I got it wrong the first time. Luckily these solder-less DB9 plugs are easy to reconfigure.
That was pretty much it, I plugged everything in and it all came together.
DIP Switches
The dip switches are fairly straight forward, I just kept everything off. So just change everything as you need it. I'd recommend changing one at a time. Coolterm managed to connect to it without any special settings. Baudrate 9600, Databits 8, Parity None, Stop Bits 1, DTR and RTS ON.

Conclusions
This plotter was surprisingly easy to setup. Its worked almost entirely out of the box. Had I bought the correct adapter from the start it would have been a 5 minute affair rather than an hour long one.
Have a comment? Feel free to
email me.
Did you enjoy this post?
Buy me a coffee ☕️.