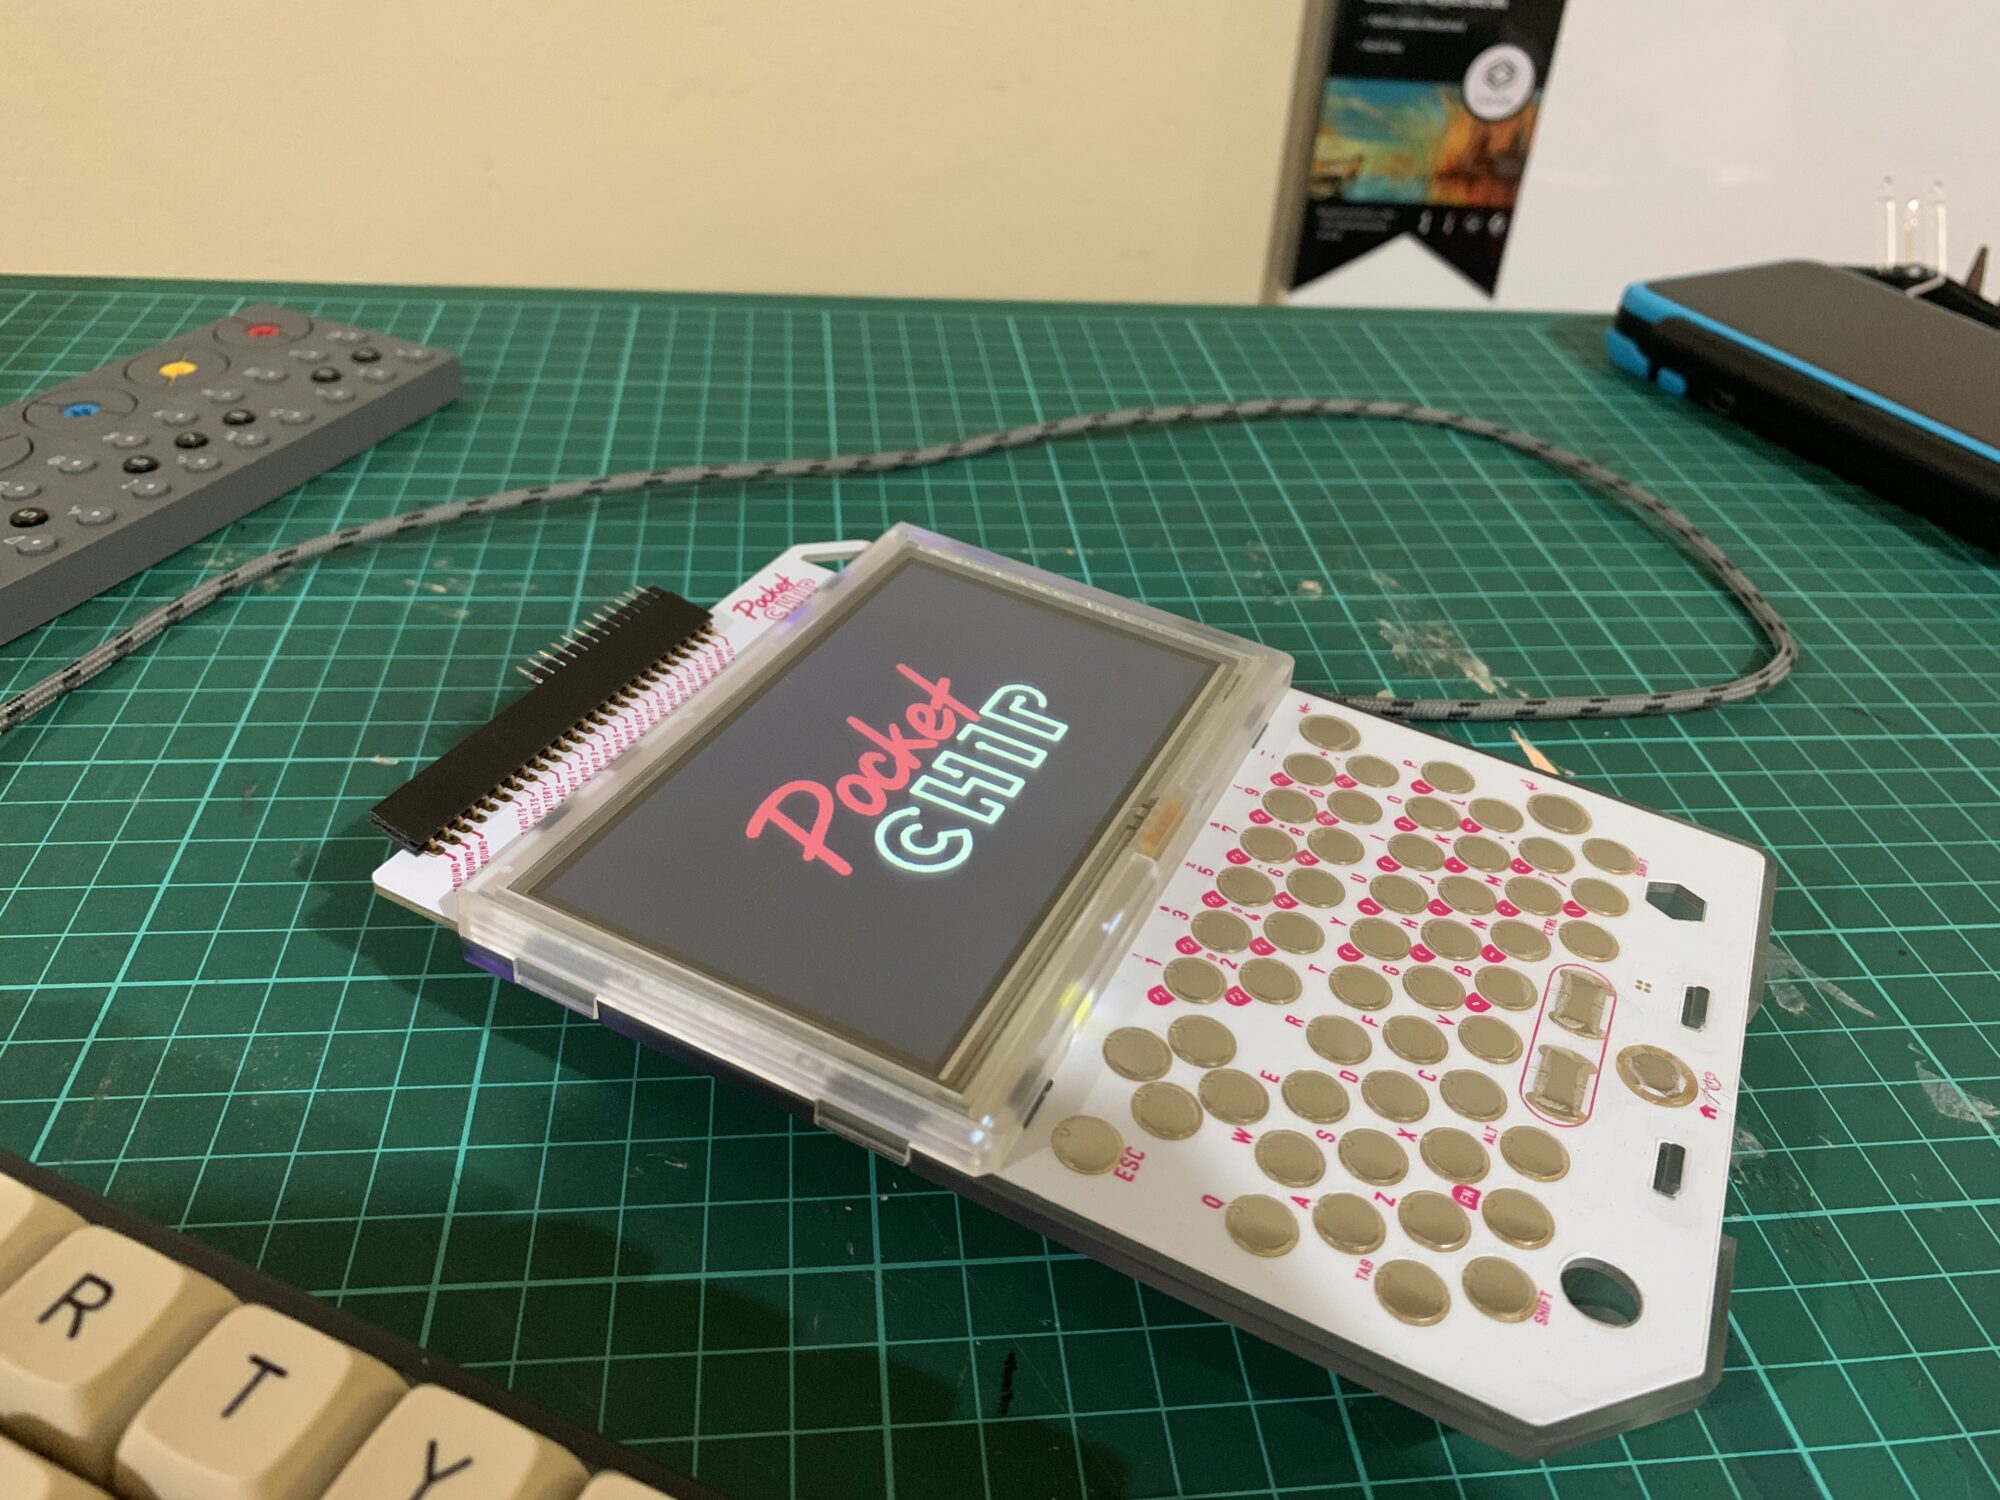
After many years of wanting one and then giving up on them when the company went under, I finally acquired a PocketChip. This thing is great. Not all around great but great in principle. It has a great form factor with a nice screen and great battery life. I quite like it. I've been using it to control my plotters wirelessly, for counting words on my typewriter and to backup my op-z. I've ran into a bunch of issues along the way so here are my notes on it, what's worked and what hasn't in case someone else wants to give it a go.
Apt Sources
The first thing you should do is change you apt sources. It turns out when the NextThingCo went under they took their mirrors with them (naturally). Luckily a valuable member of the community took the time to create a mirror for it we can all use here. That same member of the community also took the time to mirror all of NextThingCo's repositories and other goodies: http://chip.jfpossibilities.com/ this is in general the single best resource of data and code available for the chip in 2020.
I ran into an issue with Jessie backports, as the distribution is pretty old it'll be necessary to update your apt sources to use the debian archive mirror:
deb http://security.debian.org/ jessie/updates main
deb-src http://security.debian.org/ jessie/updates main

deb http://archive.debian.org/debian/ jessie-backports main
deb-src http://archive.debian.org/debian/ jessie-backports main

deb http://archive.debian.org/debian/ jessie main contrib non-free
deb-src http://archive.debian.org/debian/ jessie main contrib non-free
Don't forget to disable validity checks:
echo "Acquire::Check-Valid-Until false;" | sudo tee -a /etc/apt/apt.conf.d/10-nocheckvalid
SSH Access
The PocketChip doesn't include an ssh server by default so I'd recommend installing one once you've gotten your apt updating and running:
sudo apt-get install openssh-server
Checking the Battery Level
There's two magic files in the os that reflect your current battery state, you
can use /usr/lib/pocketchip-batt/voltage to check how charged your PocketChip
is and you can use /usr/lib/pocketchip-batt/charging to check if it's charging
or not. These are mostly useful for scripts and such.
The voltage range is from 3600 to 4200 from what I've seen.
Using UART
If you want to use the built-in UART you need to shutdown getty:
sudo systemctl stop serial-getty@ttyS0.service
You can then use /dev/ttyS0 as you normally would as a terminal or programmer
and stty to check the config stty -F /dev/ttyS0 or change it
stty -F /dev/ttyUSB0 9600.
A full desktop environment
If you want to have a full desktop environment running on your chip, you can use PocketDesk, which sets it up for you.
Using your GPIO Pins
This actually took a lot of tinkering and was going to be the original focus of this blog post.
PocketOS provides an easy way (once you figure it out) to enable or disable gpio
pins. Under /sys/class/gpio there's two sinks export and unexport. As
root you can use export to enable a gpio pin by piping it the pin's
identifier:
echo 1015 > /sys/class/gpio/export
Apparently these identifiers changed depending on the OS version, on mine it
starts with GPIO 1 as 1015 and follows with GPIO 2 on 1016 and so on. When
you are done using a pin you should unexport it:
echo 1015 > /sys/class/gpio/unexport
While the pin is exported you can set three settings according to what you are trying to achieve:
- Pin direction:
echo "in" > /sys/class/gpio/gpio1015/direction
echo "out" > /sys/class/gpio/gpio1015/direction
- Active Low:
echo 1 > /sys/class/gpio/gpio1015/active_low
echo 0 > /sys/class/gpio/gpio1015/active_low
- Edge detection:
echo "rising" > /sys/class/gpio/gpio1015/edge
echo "falling" > /sys/class/gpio/gpio1015/edge
echo "none" > /sys/class/gpio/gpio1015/edge
You can check the GPIO's state by reading the value:
cat /sys/class/gpio/gpio1015/value
# Either 0 or 1 depending on the current state of the pin.
Since this behaves like a normal file and emits events you can use anything that uses inotify to watch it. For example, here's how you'd monitor a button press using inotify-hookable:
cd /sys/class/gpio
echo 1015 > export
cd gpio1015

echo 0 > active_low
echo "in" > direction
echo "rising" > edge

inotify-hookable -f ./value -c "cat ./value"
There's some extra information about the pins in the community wiki. The pin numbers seem wrong for the pocketchip but the rest of the information available seems solid.
Configure the app launcher
The default built-in launcher for the PocketChip, PocketHome, can be minimally
configured by editing a json file /usr/share/pocket-home/config.json. You can
change the apps and the icons from there among other small niceties.
I'd recommend changing the terminal to xfce-terminal, it comes pre-installed and seems to be better in general, I changed the terminal button to this:
{
  "name": "Terminal",
  "shell": "xfce-terminal --hide-borders --fullscreen --hide-menubar",
  "icon": "appIcons/terminal.png"
}
You need to restart the entire PocketChip for the changes to kick in.
Also, if you are ever using a keyboard, dmenu is installed and mapped to alt + space which is super nice for quickly switching apps.
And that's it, I think, everything I've had to figure out about the PocketChip, distilled into one blog post. Let me know if there's anything important you think I should know.
Have a comment? Feel free to
email me.
Did you enjoy this post?
Buy me a coffee ☕️.